
Are you looking for how to create multiple Gmail accounts without phone number verification? When I had no idea how to open an email account without a phone number, I almost turned into a madman.
All my friends around I have used their mobile numbers for one Gmail account or another other and yet I still need more email accounts.
To this extent, I still buy a New SIM card almost every week just to have some fresh contacts to create new Gmail accounts.
In most cases, I will ask friends around to help me create new email accounts but unfortunately, most replies go like “I have already used my phone number for verification” Automatically they are also facing the same issue.
After a while, I was forced to learn a better way to create a Gmail account without a phone number probably to help me create as many accounts as possible from the same device bypassing every mobile number verification stage. And so I did.
Are you also facing the same issue of phone verification when creating a new email account? Are you tired of getting New Line for every New Gmail account?
In this article, I will be showing steps to open a Gmail account without number verification
How To Create (Gmail) Account Without Phone Number
Now if you want to create an email in Gmail will be required to verify the phone number activation code. For people who just need one email account may not be a problem,
but for those who want to create more than one account or email clone makers feel a little difficulty with the rule, and usually they outsmart by purchasing many mobile phone numbers (SIM Card). Also, you can create an email without phone number verification.
Follow the below steps carefully on how to open a Gmail account without a number using your Android mobile phone.
- Read Also: Apps To Convert Nigeria Number To USA Number
With this guide, you can create as many Gmail accounts as possible using the same device and without phone number verification.
Download And Install The Gmail App on your mobile phone. If you’ve got the app already then you’re good to go.
After opening my app, you can see I have logged in to many Gmail accounts. Just scroll down and click on Add Account

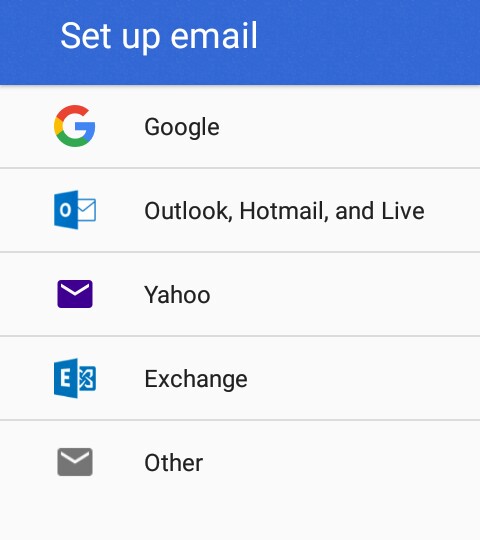
After you have successfully done that the next step is to Click on the first option (Google)
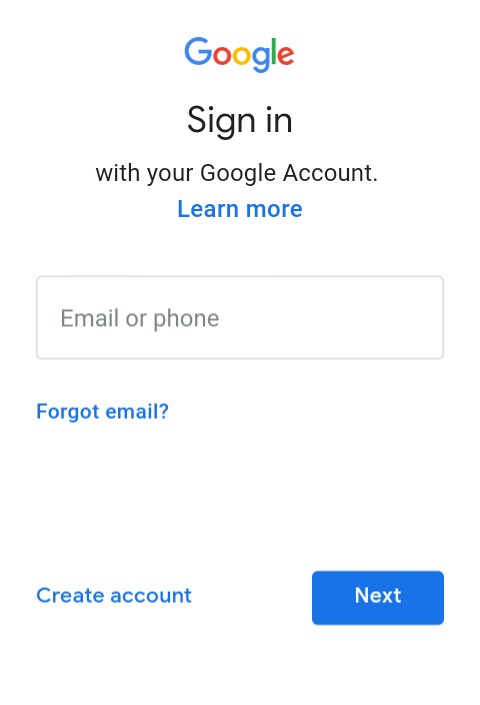
From the next Page, Click on the option to Create New Account.
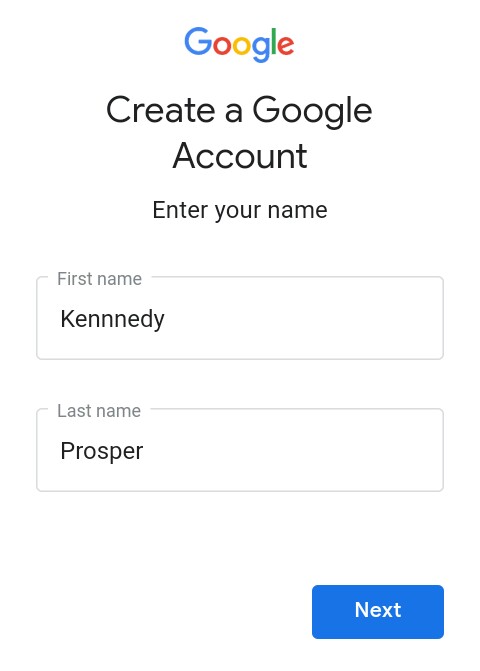
From the next Page, Enter your first and last name as usual as seen below
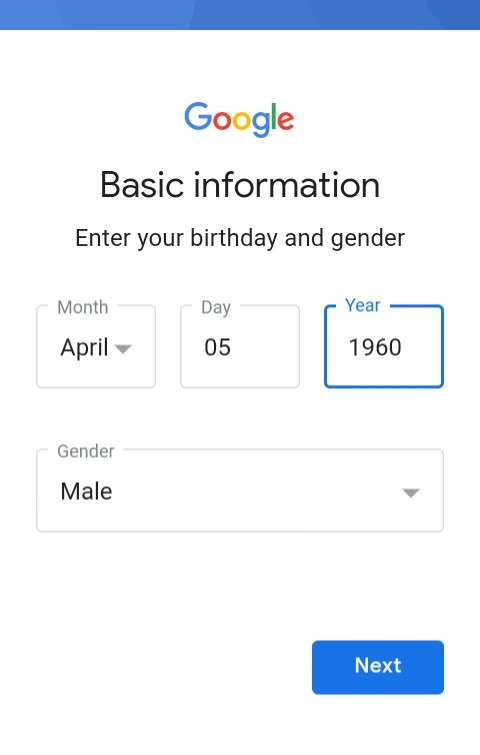
From the next page, enter your date of birth and Gender
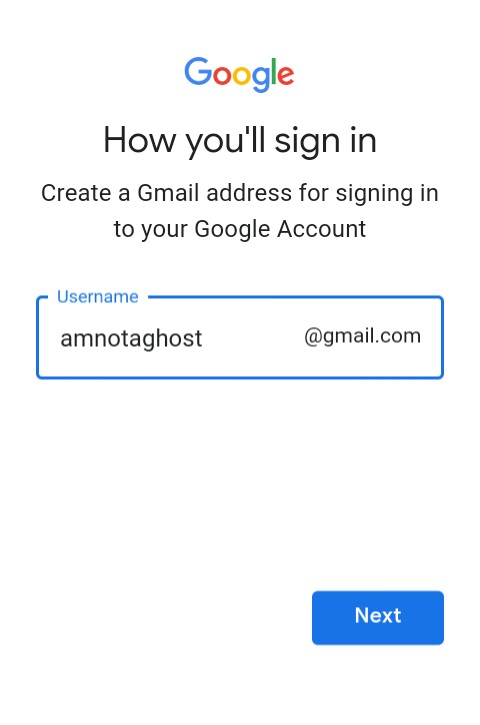
when you get to the next page select your email account username
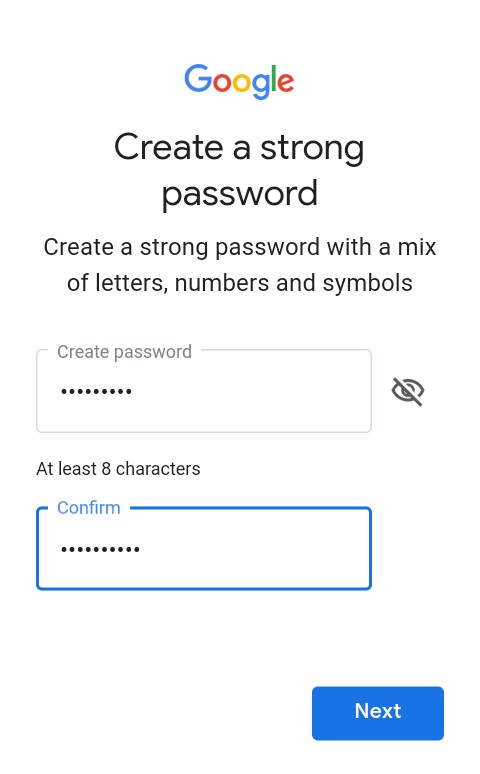
From the next Page, Create your Gmail password.
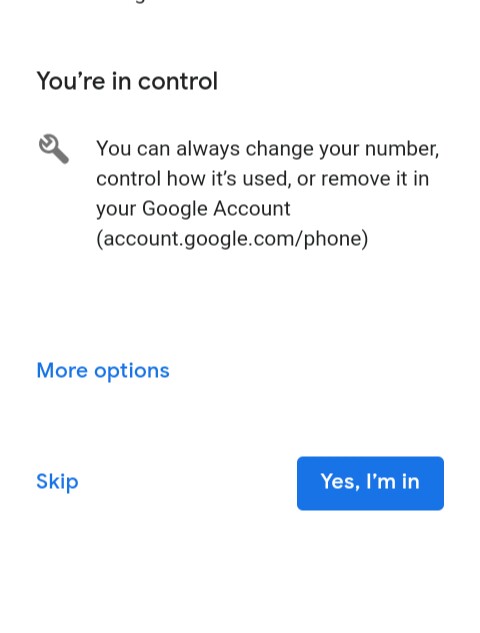
The next page will ask for mobile number Verification. Just scroll down to the end part you will see the skip Button as shown below. Click on it to bypass the mobile verification stage.
From the next page, Accept their terms and conditions. then complete your signup. You are now done and your Gmail account is ready.
You can use the same process above to create as many Gmail accounts as possible without a mobile number.
Alternative: Open multiple Gmail accounts with one mobile number
You can also create many Gmail accounts using a single mobile number. In that case, you will have to remove the number after completing your account setup. Then you can use the same number to create other accounts.
Shortcut: Just log in to your email from your phone or desktop browser and click on the Mobile number Page here That will take you to a page where you can remove the number associated with the Gmail you have logged in.
Remove your phone number and save settings, then you can use the number for other accounts.
I prefer using the Gmail app method shown above. That seems more convenient.
- Read Also: Used Cars For Sale in Nigeria
Conclusion: How to Create Multiple Gmail Accounts without Phone Verification
Did you find the above guide on how to create an email account without a number helpful? Kindly share and tweet this page using the buttons below. Remember to subscribe for more updates.

Legacy Benjamin is a serial SEO content writer with a half-decade of experience in the field of blogging. He is also a skilled business consultant, providing valuable insights to companies and individuals seeking growth and success. His expertise lies in crafting compelling and engaging content that captivates audiences and drives business results. For business deals, contact him